Linux, macOS, and Windows running simultaneously on a 1st generation Core i5 and 8GB RAM
Published by Luke M on
Wow. 3rd on Hacker News and 11000 views! Thanks!
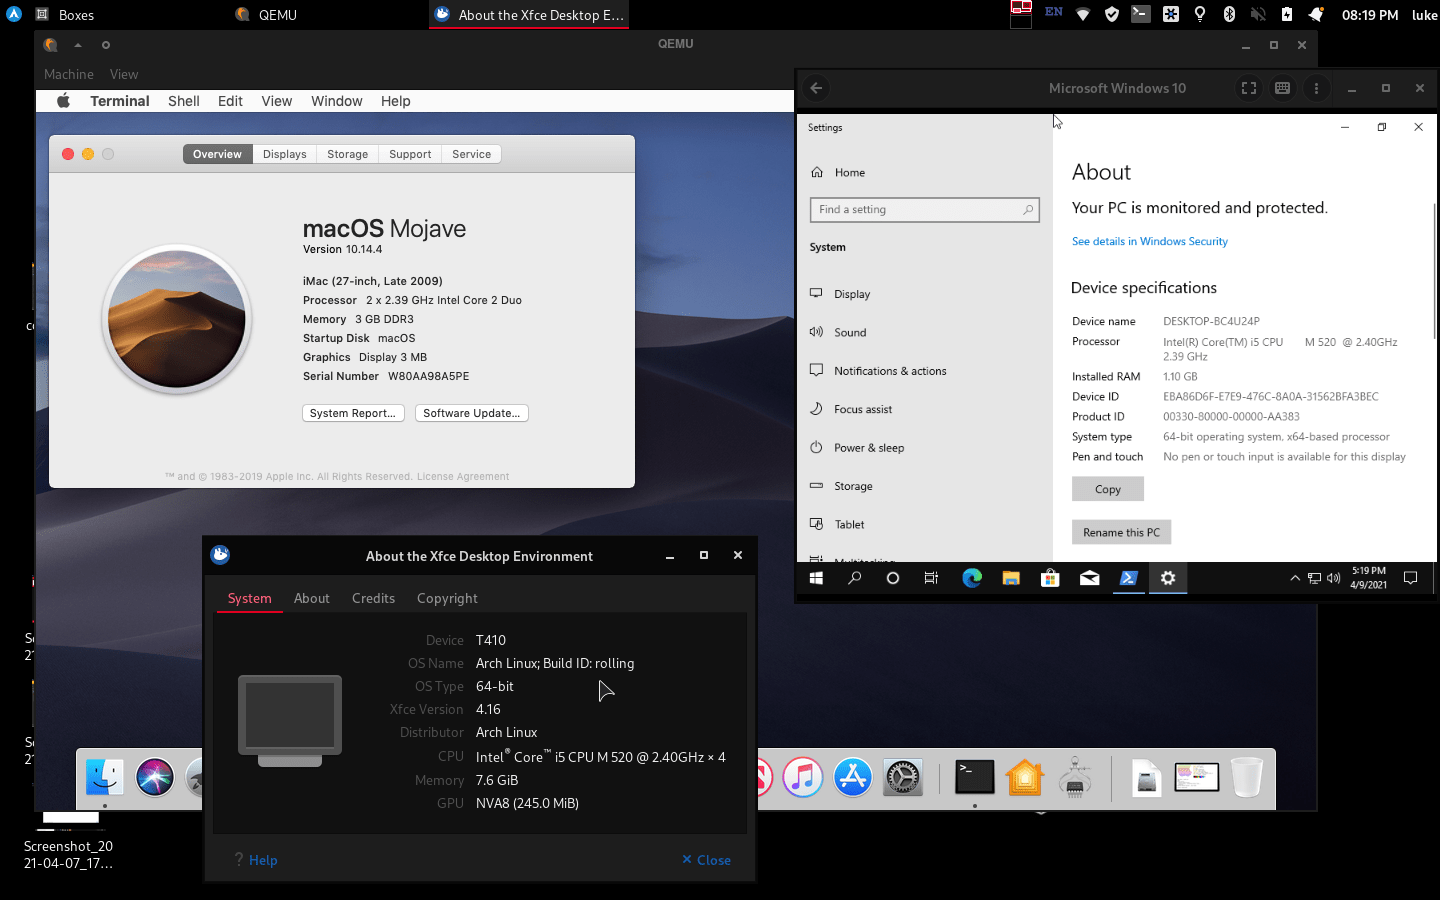
This is my main computer, a Thinkpad T410 with a 1st generation Intel Core i5 and 8 GB of RAM. It runs Arch Linux with Xfce.
The macOS Mojave (chosen over Catalina or Big Sur for it’s lower resource usage) VM works surprisingly well with 3GB RAM, but even when the Windows VM was allocated that much, it was very sluggish.
The Windows installation was very easy. All you have to do is download the ISO from Microsoft, import into Boxes and fill in your username, password, and product key in the “Express Installation” feature of Gnome Boxes.
For macOS, you can use the excellent scripts by foxlet to automatically download the image from Apple and provision a QEMU virtual machine. The installation will take some time. Once you have installed macOS using the onscreen menus, you need to select the fourth option in the Clover Bootloader, Boot macOS from x. The first option will boot the install media again. I didn’t take screenshots of the install process. (This is not technically allowed per the EULA, but as long as you’re not making money, you should be fine.)
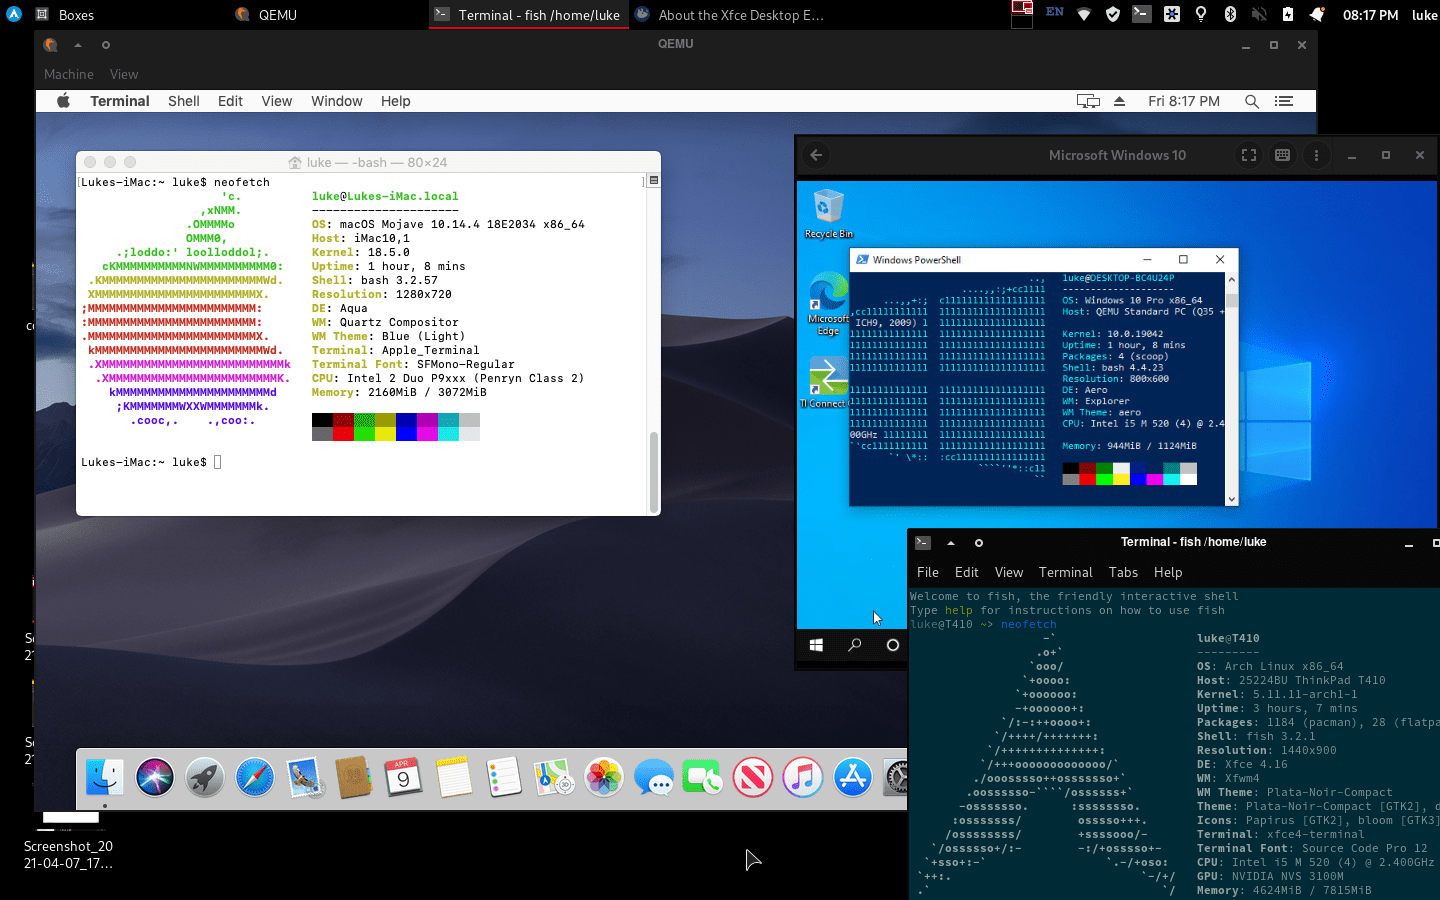 Neofetch
 My Website
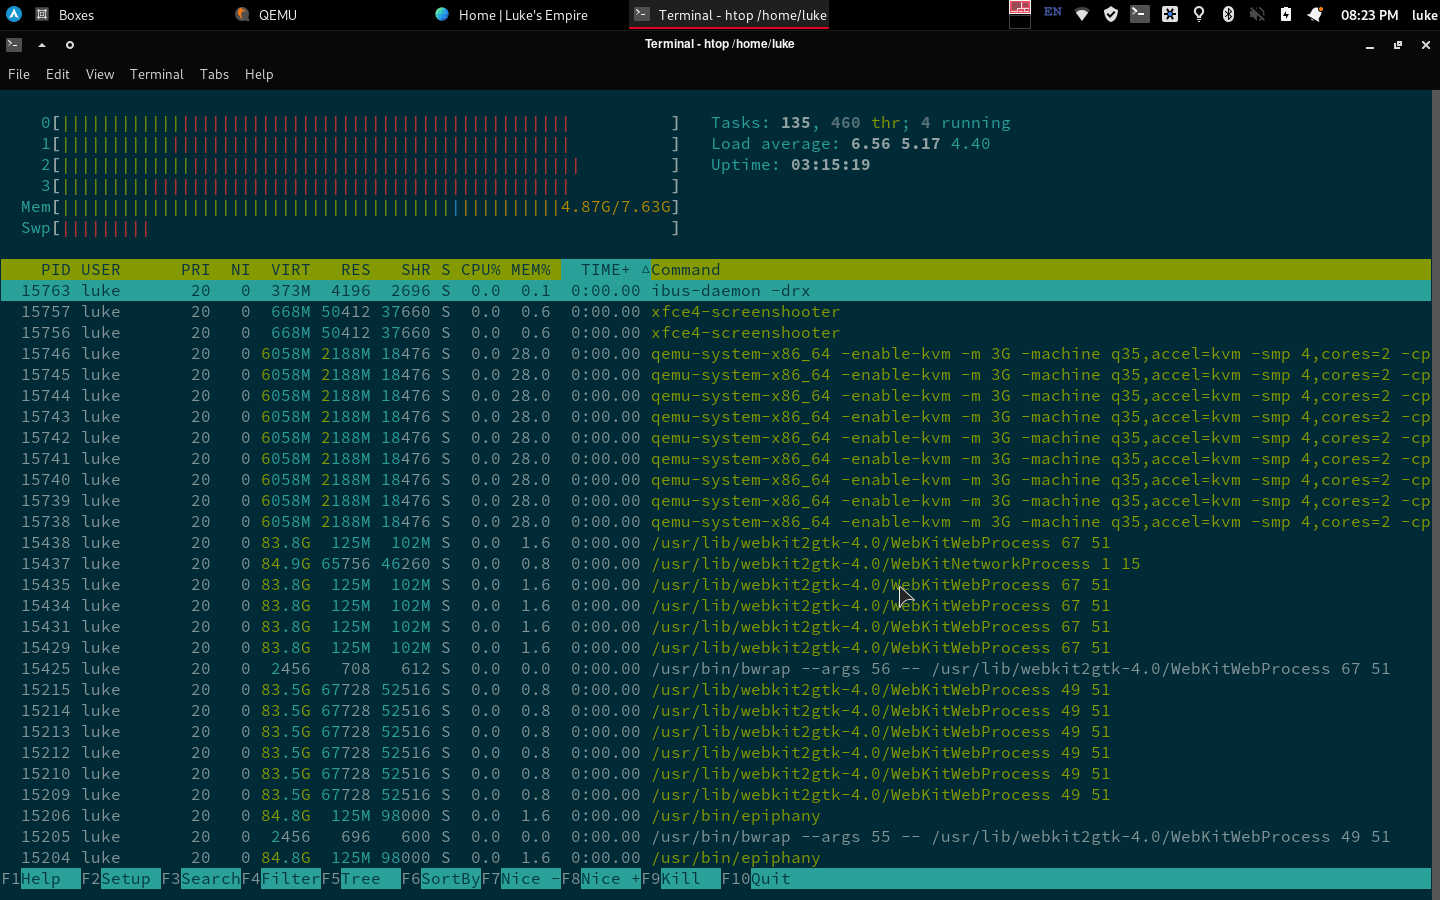 htop on the physical machine
Detailed installation
macOS
Prerequisites:
- A x86-64 processor with VT-x or equivalent (Ivy Bridge or later / Ryzen/ Threadripper reccomended) (Nehalem did work for me)
- Enough RAM for each OS combined (8GB minimum reccomended)
This guide is basically copied from the GitHub. Thanks @foxlet!
- Install a Linux distribution of your choice.
- Install the required software.
- qemu
- python3
- pip
- enable kvm modules
Here are some examples:
sudo apt-get install qemu-system qemu-utils python3 python3-pip # for Ubuntu, Debian, Mint, and PopOS. sudo pacman -S qemu python python-pip python-wheel # for Arch. sudo xbps-install -Su qemu python3 python3-pip # for Void Linux. sudo zypper in qemu-tools qemu-kvm qemu-x86 qemu-audio-pa python3-pip # for openSUSE Tumbleweed sudo dnf install qemu qemu-img python3 python3-pip # for Fedora sudo emerge -a qemu python:3.4 pip # for Gentoo -
Clone the install tools
git clone https://github.com/foxlet/macOS-Simple-KVM.git cd macOS-Simple-KVM.git -
Download the installation media
 chmod +x jumpstart.sh
 ./jumpstart.sh
This will take a while. The default will use Catalina, but you can add
--high-sierra--mojaveor--catalinato change the version. Big Sur can be done by using this branch. - Create a virtual hard disk. You can change the name and size.
qemu-img create -f qcow2 macOS.qcow2 64GThen, add the following it to the end of
basic.sh-drive id=SystemDisk,if=none,file=macOS.qcow2 \ -device ide-hd,bus=sata.4,drive=SystemDisk \ - Run
basic.shto start the VM./basic.sh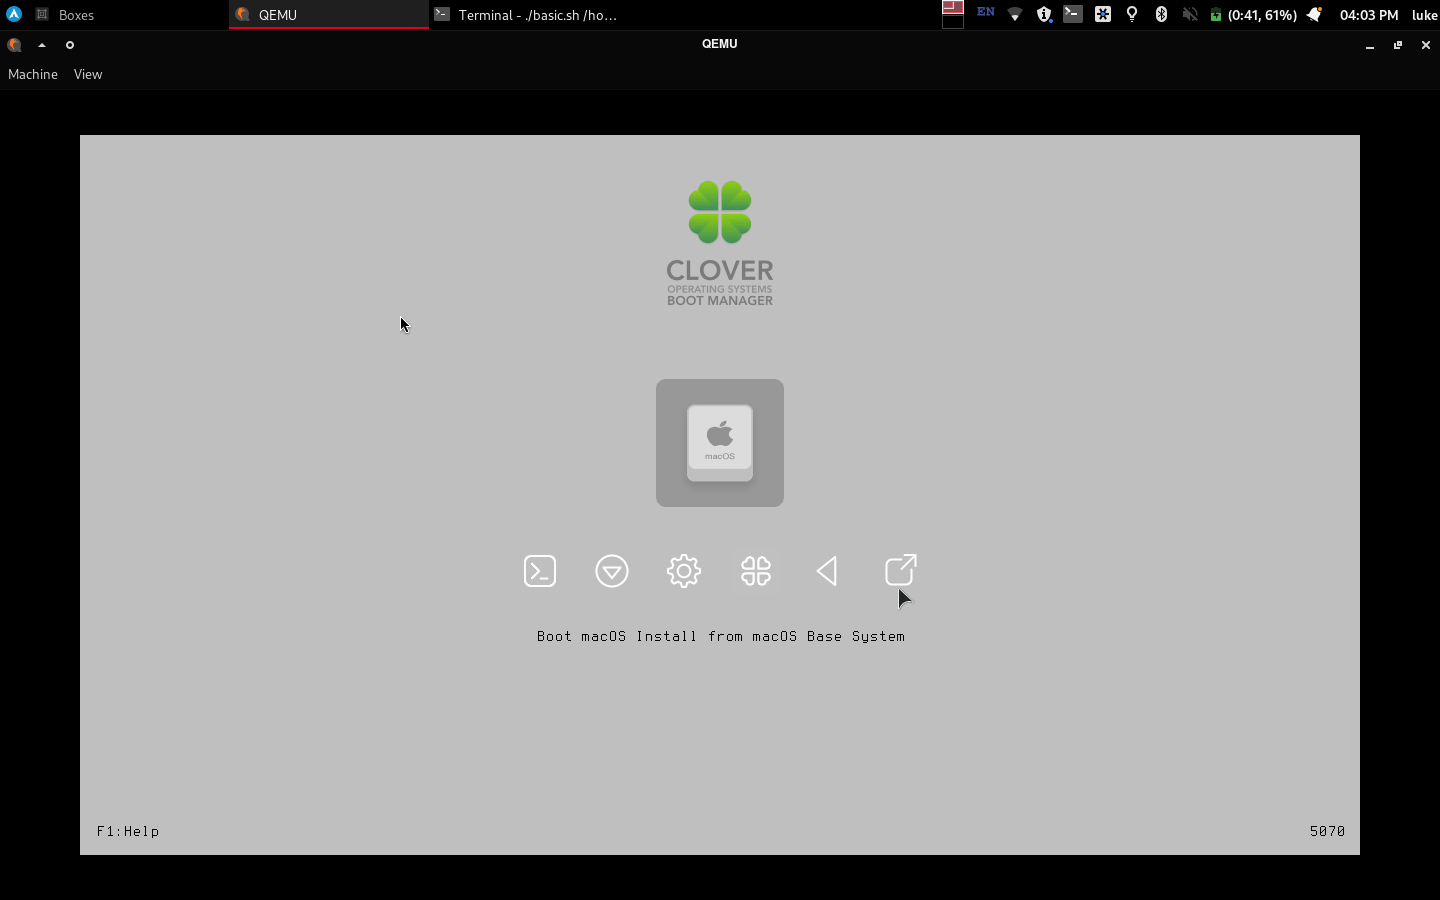
-
Press Enter when this screen appears.
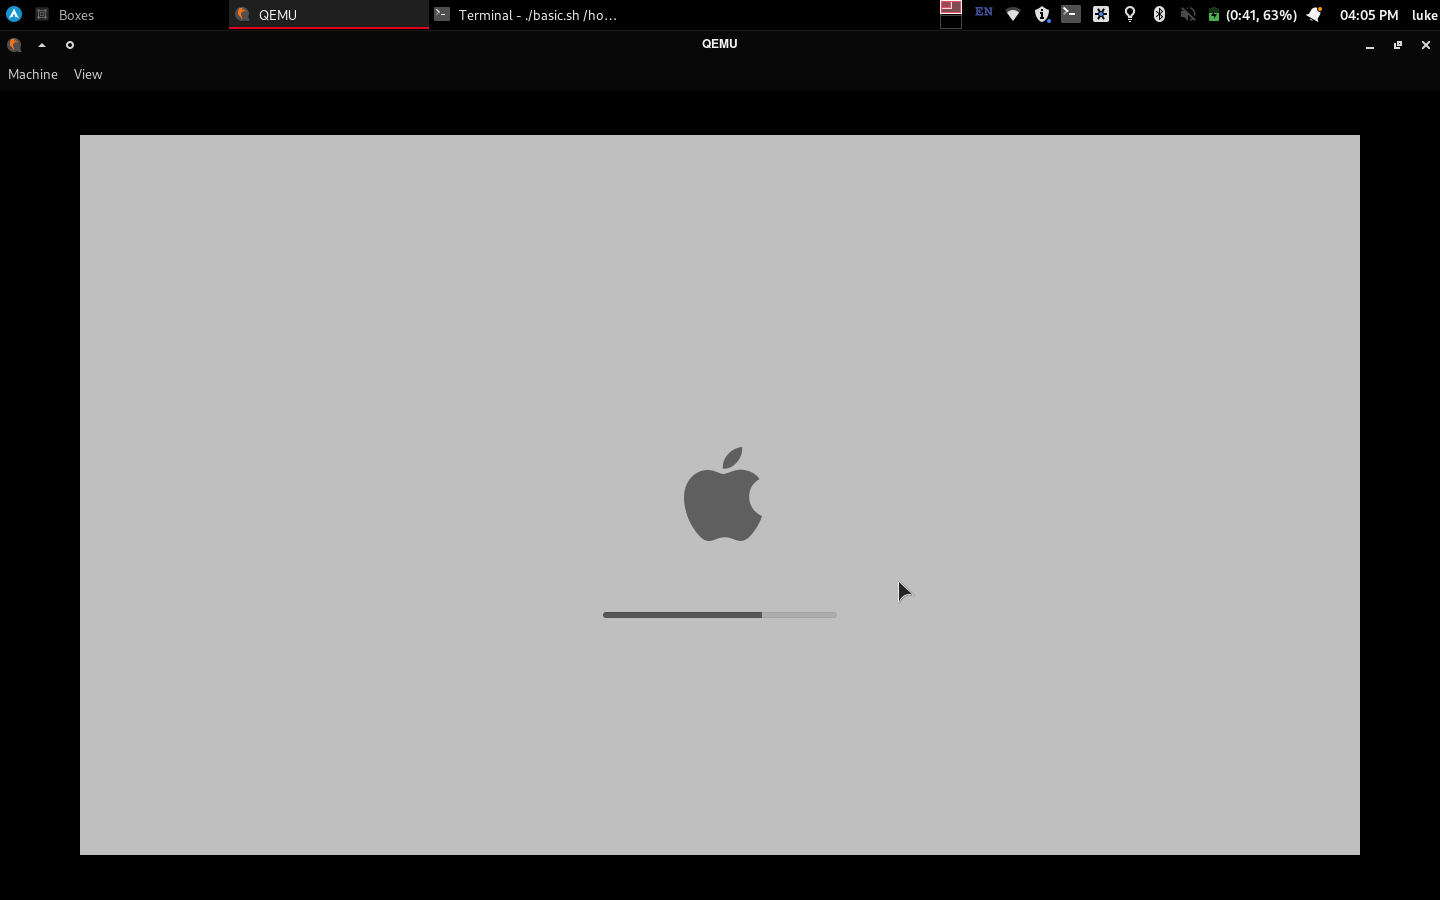
Aah, the Apple Logo.
-
Select
Disk utilityonce the menu loads. Select Erase. SelectQEMU HARDDISK Media, change Untitled to macOS, and erase.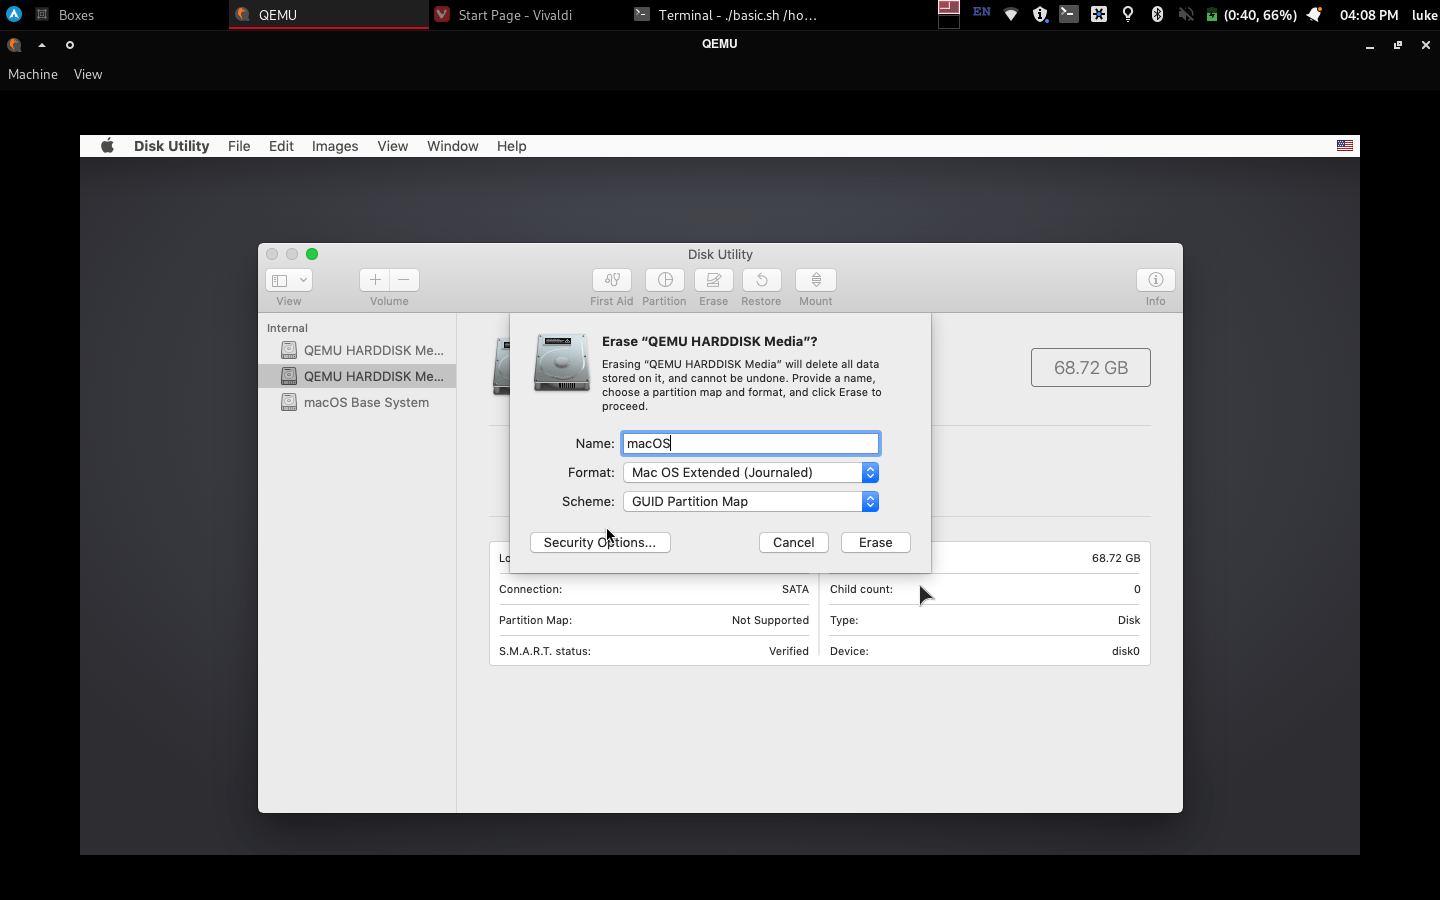
Click on Disk Utility on the top panel, and quit it. Then select Reinstall macOS.
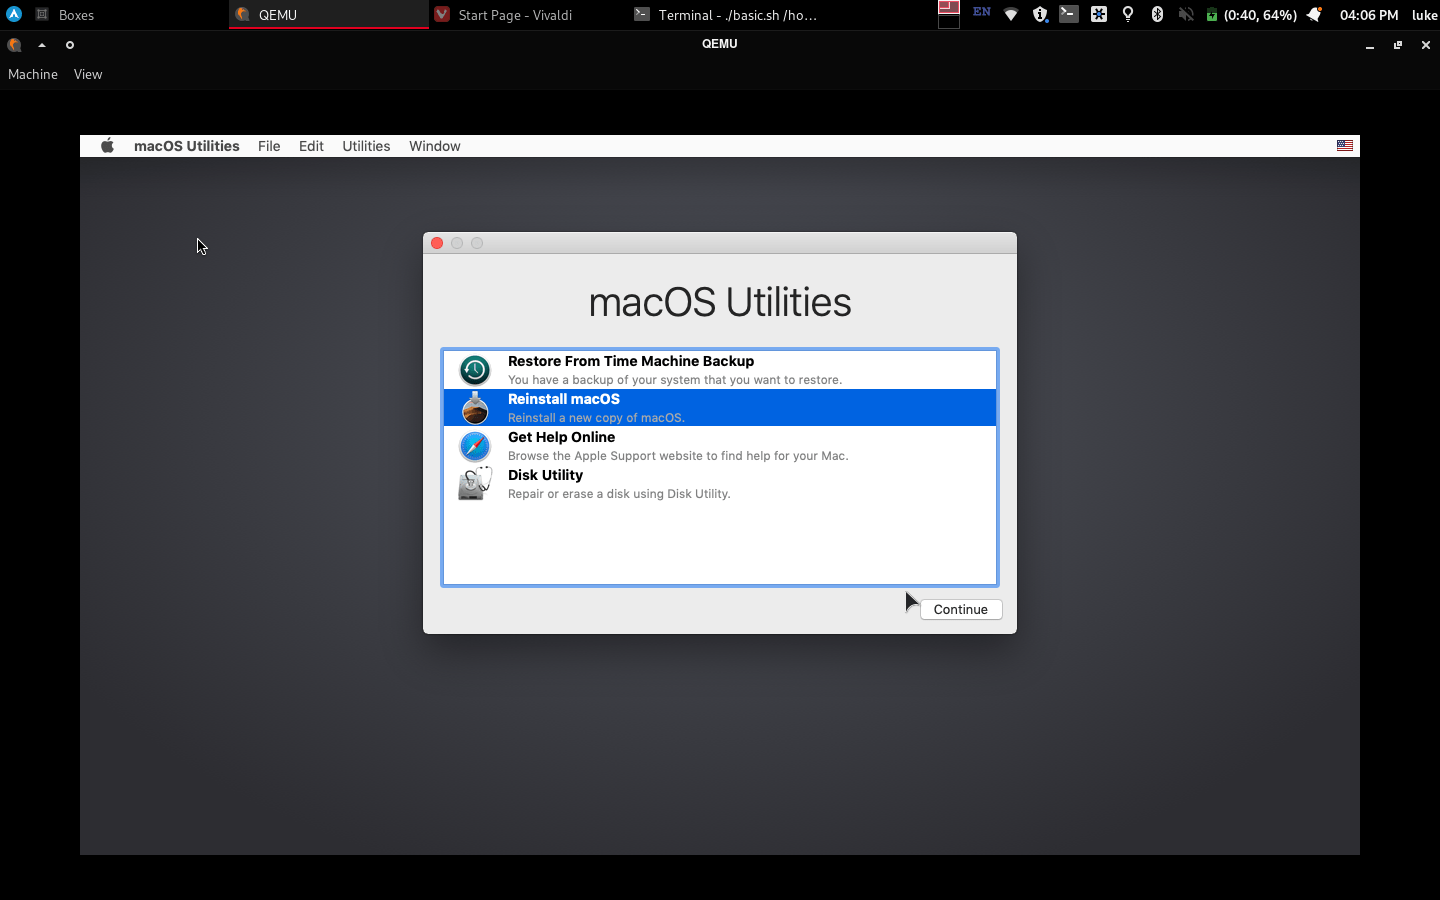
Follow the on-screen prompts to install macOS. The boot will take a while, and installation might take up to an hour. See the docs for more information. When you restart, select Boot macOS from macOS on the clover menu to boot into your installed system!
Windows
- Install Gnome Boxes
sudo apt-get install gnome-boxes # for Ubuntu, Debian, Mint, and PopOS. sudo pacman -S gnome-boxes # for Arch. sudo xbps-install -Su gnome-boxes # for Void Linux. sudo zypper in gnome-boxes # for openSUSE Tumbleweed sudo dnf install gnome-boxes # for Fedora sudo emerge -a gnome-boxes # for Gentoo - download the ISO from Microsoft.
- Obtain a Product Key
- Click the + in the top left corner, and select the iso file.
-
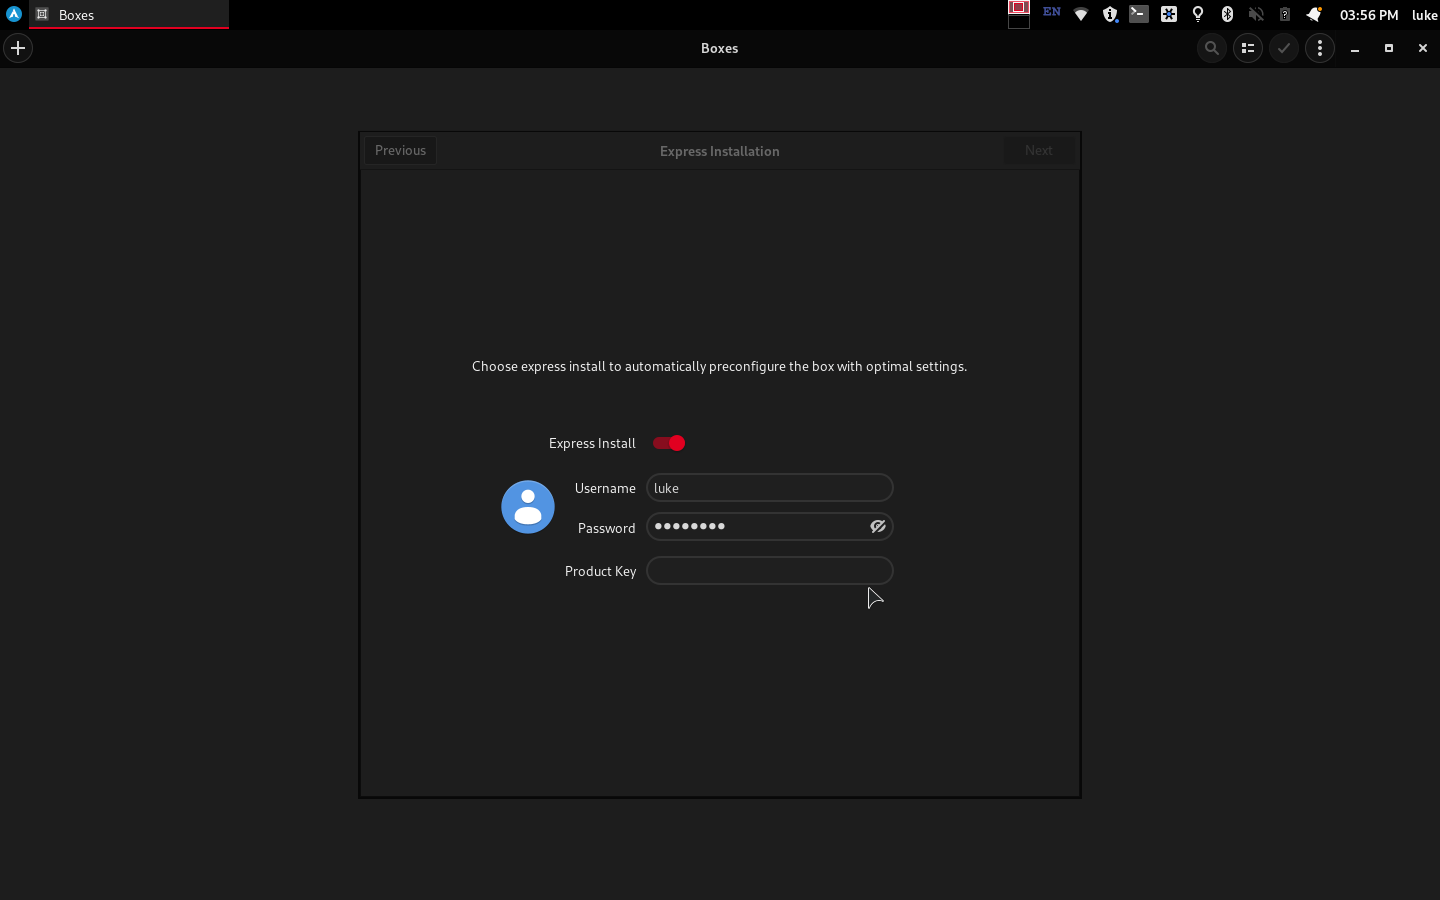
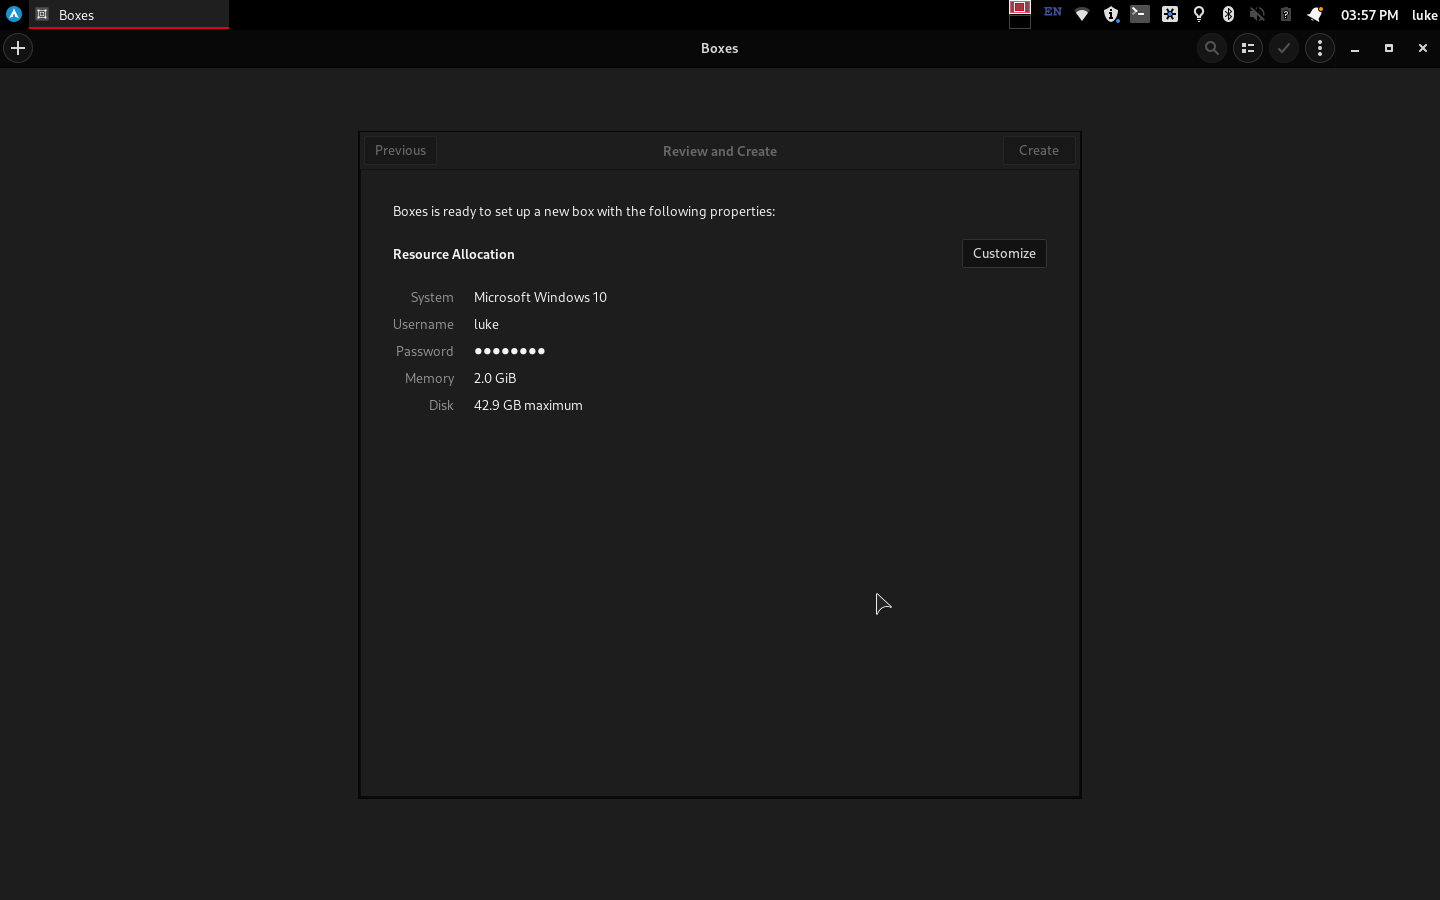
Toggle Express Install, and fill in your username, password, and product key.
-
Change the resource allocation if needed
-
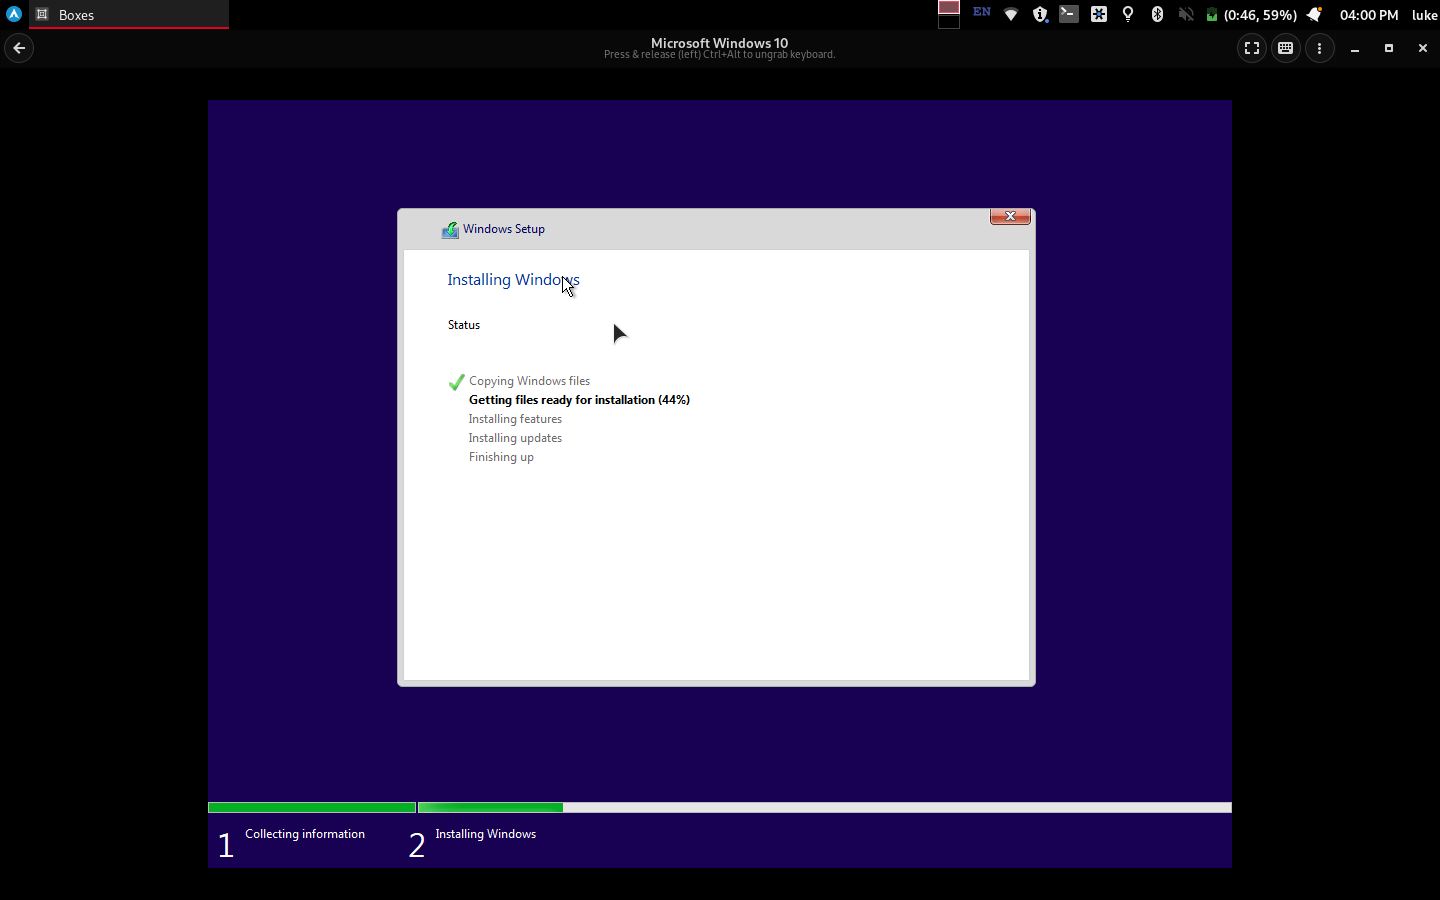
Wait
- Get bombarded by ads telling you how great Edge is
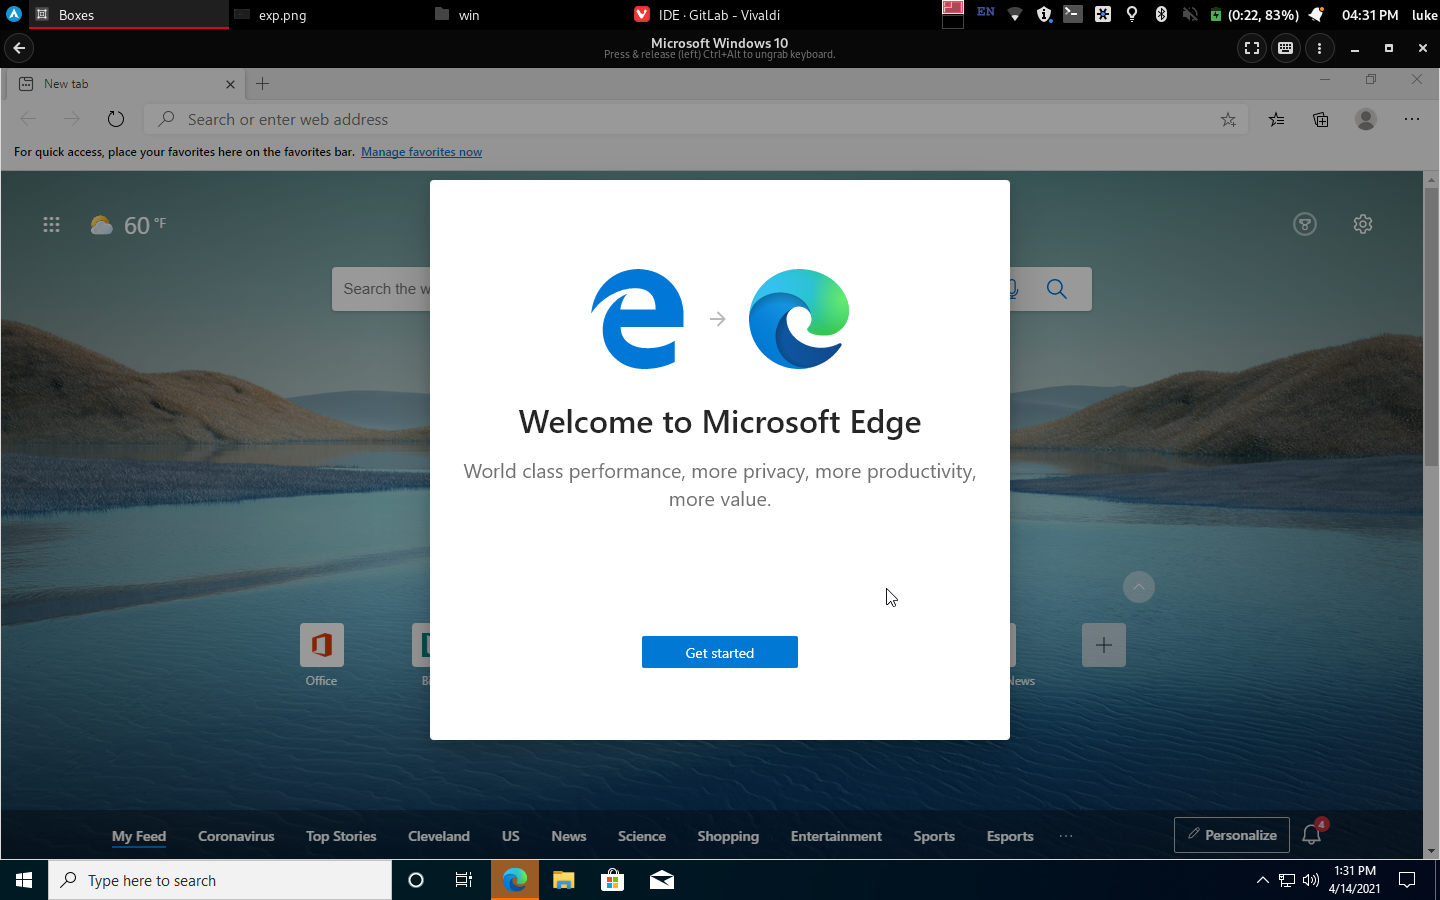 More privacy? Really?
:wq